Part 2: Understanding Depth Of Field
Whilst there are many technical aspects relating to this subject, Depth Of Field (DOF) relates basically to the area in the photograph which will be acceptably sharp. By Peter Wickham.
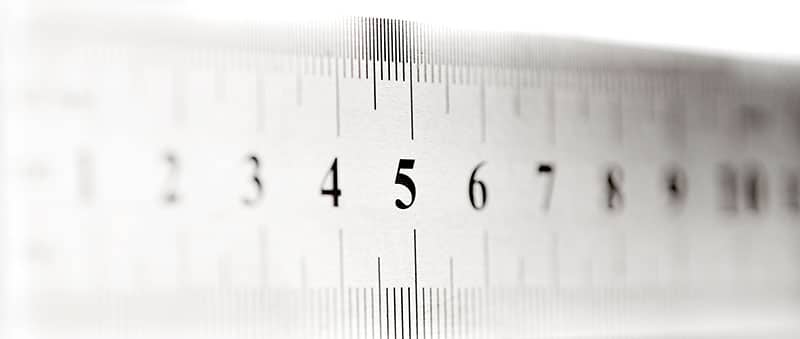
There is an area in front of your point of focus and an area behind the point of focus which is acceptably sharp as it fades to being out of focus. As a general rule of thumb, it is accepted that of the total distance in focus, one-third of that distance is in front of the focus point and two-thirds of that distance is behind the focus point as the ruler image below illustrates.
There are 3 factors that affect Depth Of Field:
- Aperture. The larger the aperture (the ‘f’ number) the shallower the Depth Of Field (remember that the smaller the number the larger the aperture).
- Distance from the subject. The closer the subject, the shallower the Depth Of Field.
- Focal Length of the lens. The longer the focal length, the shallower the Depth Of Field.
These factors affect Depth Of Field equally and no single factor is more important than the other. Obviously the converse of what results in a shallow Depth Of Field will result in a deeper Depth Of Field.
Understanding Depth Of Field, even at limited levels, will allow you to be creative with its use, and is helpful in substantially altering ugly backgrounds, i.e. in portraiture as well as macro photography. Whilst this can be a useful tool, it can also be an eternal enemy when you do not get enough of the image in focus and therefore experimentation is essential.
So how do we know if what we need in focus, will be in focus?
Well, if accuracy is needed, there is an online DOF calculator at www.dofmaster.com which is very useful when you have the time and chance to use it. While having a device (like a smartphone or tablet) with which to browse the web is not always practical, experimenting in the comfort of your home is encouraged to get a feel of how your equipment deals with the depth of field. The website mentioned above also has a printable calculator wheel which you could assemble and take into the field.
Helpful tips with Depth Of Field.
Don’t be afraid to experiment. Some cameras are fitted with a preview button where one can see the Depth Of Field through the viewfinder.
Using Depth Of Field creatively.
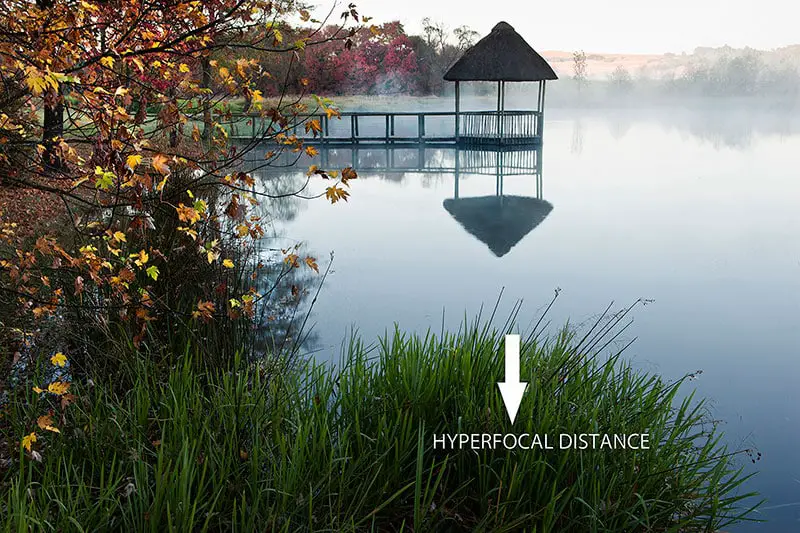
Consider the background and how you wish to show it in your photograph. When photographing landscapes, one usually wants to show the entire scene in focus and therefore one should become aware of the term Hyperfocal Distance. This is the point at which Depth Of Field runs to infinity. The website referred to previously also has Hyperfocal Distance printable downloads, which you can print as cards to take into the field in your camera bag or pocket.
When you know the hyperfocal distance you can safely focus that distance from the camera and be confident that the entire scene will be in focus, as your area in focus will be from the hyperfocal distance to infinity. The hyperfocal distance is closer to the camera when the lens length is shorter (wide angle) and the Aperture is small i.e. bigger ‘f’ number.
If you do not have a hyperfocal chart to work from, remember the rule of thumb − one-third of the focused area in front of the point of focus will be in focus, as will two thirds behind the point of focus. This is also very helpful to remember when your foreground anchor is closer to the cam than the hyperfocal distance.
NOTE: Part 1 in this series (Capturing the Golden Hour) can be read HERE,


